---
title: Email/Password Authentication
description: Integrate email/password sign-up, sign-in, sessions, password reset, and optional email verification with prebuilt or custom UI.
sidebar:
label: Overview
order: 10
---
## Email/password integration summary
- Configure the EmailPassword and Session recipes on both the frontend and backend.
- Choose the prebuilt UI or a custom UI and configure the authentication routes.
- Configure password reset and decide whether your application requires email verification.
- Validate sign-up, sign-in, sign-out, session refresh, and password reset before deployment.
Add SuperTokens email/password authentication to this existing application. First inspect the project stack and current SuperTokens configuration. Configure the frontend and backend EmailPassword and Session recipes, the chosen pre-built or custom UI, auth routes, password reset flow, and environment variables. Ask whether email verification is required if it is not clear. Preserve existing conventions, do not commit secrets, and validate the sign-up, sign-in, sign-out, session refresh, and password reset flows with the relevant tests and build.
## Overview
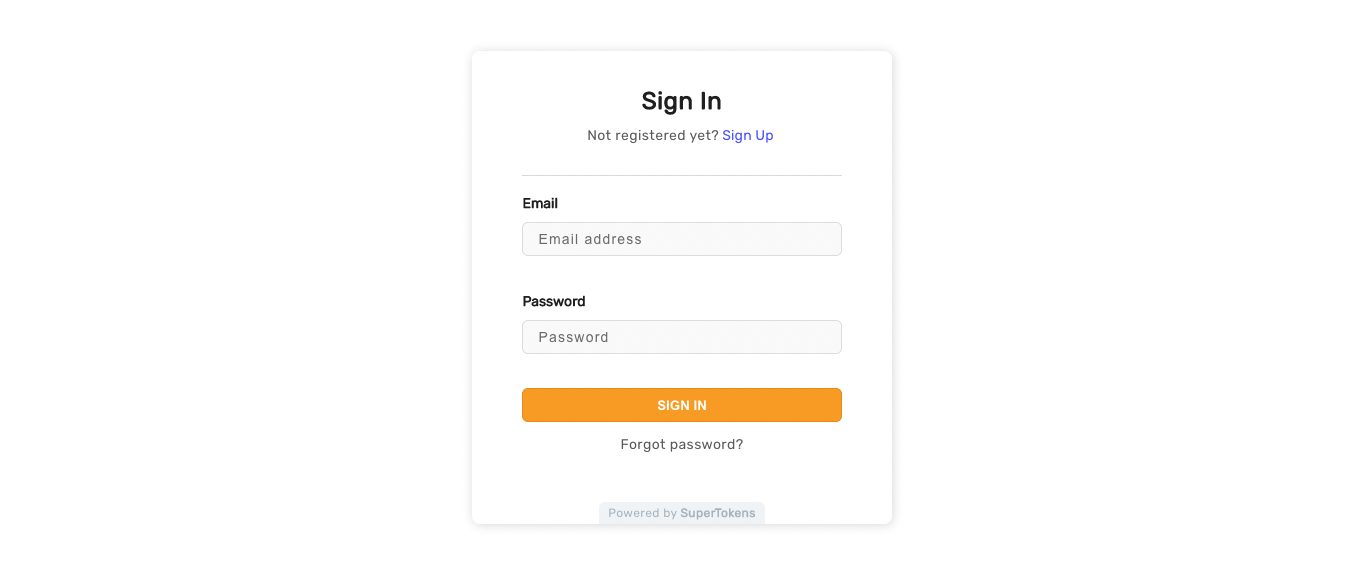
The **Email/Password** `recipe` provides a way of authenticating users with basic credentials.
You can use it out of the box, with the **Pre-Built UI**, or implement your own interface through the available SDKs.
 ## Getting started
You can either follow the quickstart tutorial or use the `CLI` tool to generate an example app that shows you how the recipe works.
Go through a quick tutorial that shows you how to add the **Email/Password** recipe to your app.
## Customization
To adjust the functionality to fit your use case you can explore different sections from the documentation.
Adapt the look and feel of the pre-built sign in form.
Adapt the look and feel of the pre-built sign up form.
Add custom logic after the user logs in or signs up.
Read which hashing algorithms you can use and how to use them.
Discover how you can implement an authentication flow that makes use of usernames instead of email addresses.
## Getting started
You can either follow the quickstart tutorial or use the `CLI` tool to generate an example app that shows you how the recipe works.
Go through a quick tutorial that shows you how to add the **Email/Password** recipe to your app.
## Customization
To adjust the functionality to fit your use case you can explore different sections from the documentation.
Adapt the look and feel of the pre-built sign in form.
Adapt the look and feel of the pre-built sign up form.
Add custom logic after the user logs in or signs up.
Read which hashing algorithms you can use and how to use them.
Discover how you can implement an authentication flow that makes use of usernames instead of email addresses.